Before you begin
Keep the original and use a duplicate layer or Smart Object. Decide the final output dimensions first: assess output sharpening at the size people will actually see.
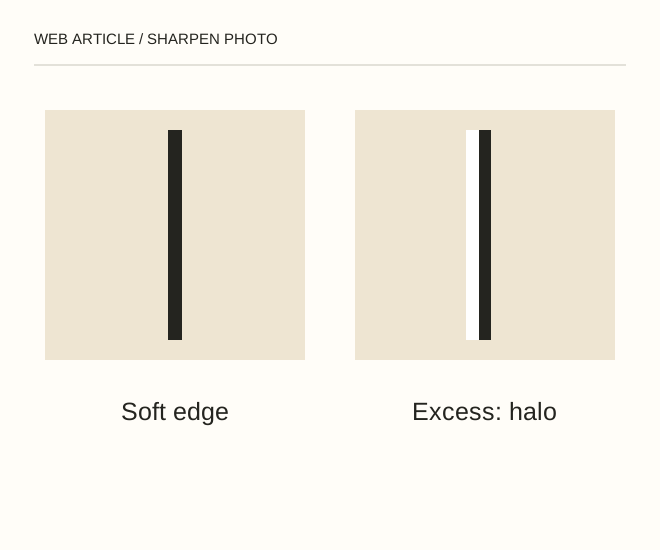
Text explanation of the diagram
Output size → Local sharpening → Check halos. A portrait’s eyes may benefit from modest sharpening while the skin does not. A mask lets you target the useful area without making the whole photograph harsh and noisy.
The procedure
- Inspect the problem at 100%: is it motion blur, missed focus, noise or merely a small preview? Each cause calls for a different response.
- Apply sharpening moderately and locally. Watch high-contrast boundaries: a pale outline around a dark object and amplified grain indicate excessive processing.
- Export a trial and compare it with the unprocessed version at identical dimensions. If an editor offers generative restoration, distinguish invented detail from recorded evidence.
A worked example
A portrait’s eyes may benefit from modest sharpening while the skin does not. A mask lets you target the useful area without making the whole photograph harsh and noisy.
Check the result
Inspect hair, branches and lettering. Toggle before/after without changing zoom. Do not treat an enhanced version as proof of an unreadable number, document or identity.
A common mistake
A strong filter cannot make blurred lettering reliably factual. A generative result may look convincing while inventing characters.
Sources and next steps
- Adobe — Sharpen and blur
- Как в Фотошопе сделать четче фото или рисунок — 2009-06-27 (RU)
Diagram and examples: Web Article editorial team. The diagram explains a principle; it is not an interface capture or a software test result.