Before you begin
Keep an editable layered copy. If the subject already has its own layer, hide the background. If you must separate it, begin with a selection and a mask rather than permanently deleting pixels.
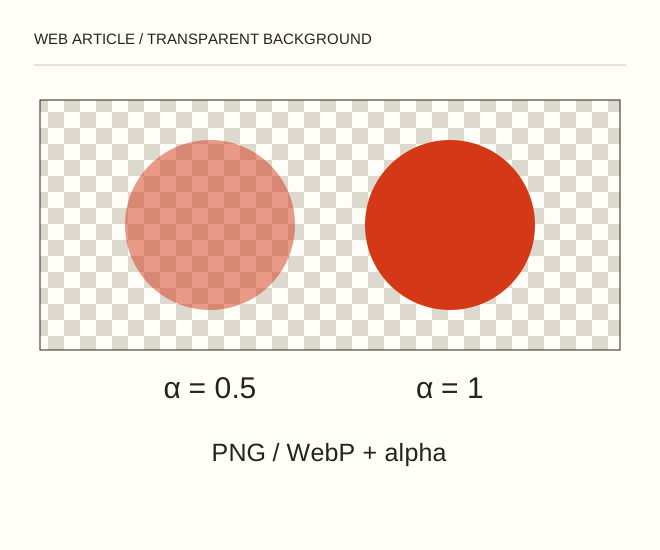
Text explanation of the diagram
Mask → Test on two backgrounds → PNG / WebP. A logo with a soft shadow needs partially transparent pixels. JPEG cannot retain this: empty space becomes a colour rather than transparency. Consider SVG for a simple single-colour mark.
The procedure
- Create a layer mask and refine the edge while zoomed in. Hair and translucent materials do not need an entirely hard outline. Black on a mask hides, white reveals and grey gives partial visibility.
- Place a dark background and then a light one beneath the subject. A pale halo hidden on white becomes obvious on dark. Refine both the mask and contaminated edge colours without destroying the source.
- Export PNG or an alpha-capable WebP. Open the result on a page with two backgrounds and verify that translucent areas really allow the background through.
.mark { background: transparent; }A worked example
A logo with a soft shadow needs partially transparent pixels. JPEG cannot retain this: empty space becomes a colour rather than transparency. Consider SVG for a simple single-colour mark.
Check the result
Inspect the outside edge, shadow and counters inside letters. View the actual file in a browser, not just Photoshop. Make sure the checkerboard was not painted into the image.
A common mistake
Reducing the entire layer’s Opacity fades both the background and the subject. To remove only the background, use a selection or mask instead.
Sources and next steps
- Adobe — Export settings
- Прозрачность и полупрозрачность в Photoshop — 2009-05-05 (RU)
Diagram and examples: Web Article editorial team. The diagram explains a principle; it is not an interface capture or a software test result.