Before you begin
Measure the source and choose a thickness. To preserve the complete photograph, add space outside it instead of covering edges with an internal stroke.
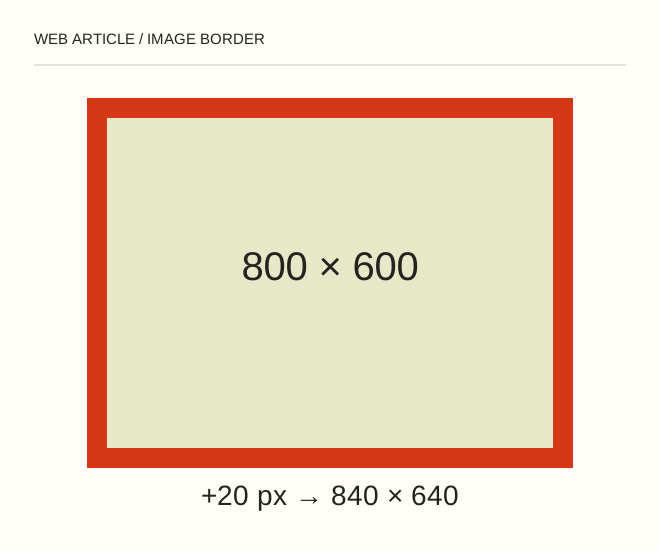
Text explanation of the diagram
Photo 800 × 600 → Border 20 px → File 840 × 640. An 800 × 600 photo with an external 20 px frame becomes 840 × 640. Drawing the same frame inside instead covers 20 px of the photograph on every edge.
The procedure
- For an exported file, expand the canvas or add a separate layer beneath the photo. Preserve the subject’s proportions rather than stretching it together with the frame.
- For a page, use border and box-sizing: border-box. Check that the image, border and spacing fit the container together.
- Compare on light and dark backgrounds. If the image is a link, preserve keyboard focus; a decorative border should not be the only indication of interaction.
.photo { box-sizing: border-box; border: 1px solid #27241f; max-width: 100%; }A worked example
An 800 × 600 photo with an external 20 px frame becomes 840 × 640. Drawing the same frame inside instead covers 20 px of the photograph on every edge.
Check the result
Dimensions fit the layout, no image edge is accidentally lost, and mobile pages have no horizontal scrolling.
A common mistake
Applying the same border in both the file and CSS doubles its thickness. Inspect the exported file on a neutral background before changing styles.
Sources and next steps
- MDN — box-sizing
- Как сделать рамку вокруг рисунка в Фотошопе — 2009-10-07 (RU)
Diagram and examples: Web Article editorial team. The diagram explains a principle; it is not an interface capture or a software test result.