Before you begin
Work from the colour original using adjustment layers. Retain colour information so you can control the brightness of different areas independently.
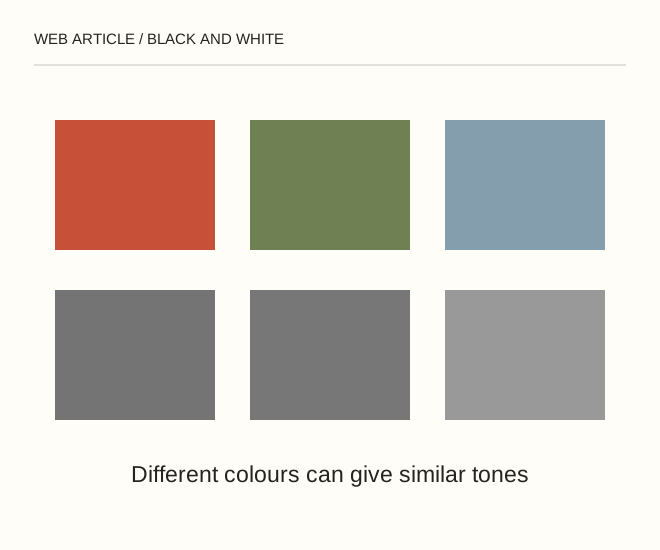
Text explanation of the diagram
Colour source → Range brightness → Tonal contrast. A red object against green may merge into its surroundings after simple desaturation. Separate colour-range controls can distinguish their brightness without manually drawing an outline.
The procedure
- Add a Black & White adjustment layer. Change colour-range contributions gradually while watching skin, sky and clothing. One setting does not suit every photograph.
- Refine contrast with a separate Curves adjustment. Preserve texture in highlights and shadows: a blank white sky or blocked-up fabric may lose important detail.
- Toggle the layers to compare versions. Export a copy and inspect it on an ordinary screen; an impressive editor preview does not guarantee a readable image on a page.
A worked example
A red object against green may merge into its surroundings after simple desaturation. Separate colour-range controls can distinguish their brightness without manually drawing an outline.
Check the result
The subject remains separated from the background; important detail survives; skin has no harsh patches from extreme channel adjustments. The colour original is stored separately.
A common mistake
Over-darkening a colour range can reveal noise and uneven edges. Address the cause rather than hiding it with still more contrast.
Sources and next steps
Diagram and examples: Web Article editorial team. The diagram explains a principle; it is not an interface capture or a software test result.